Blog
DIY Mushroom Crochet Tutorial: Step-by-Step Amigurumi Pattern
Stuson Tutorial – Step-by-Step Amigurumi Tutorial
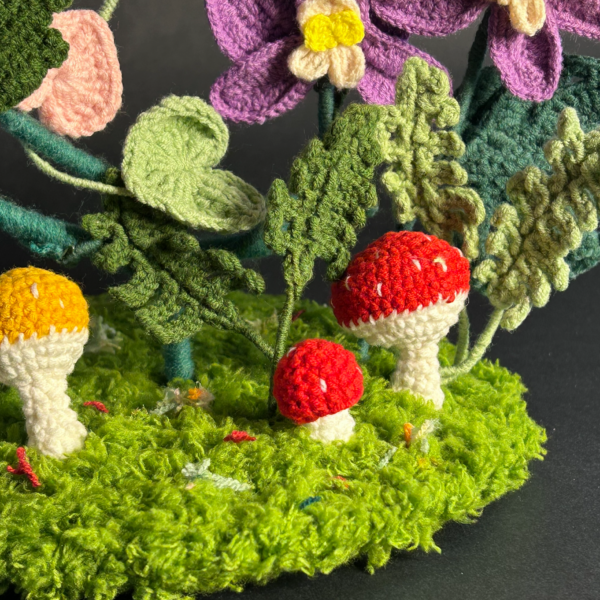
To be honest, I went back and forth for a while trying to decide which part of this massive crochet clock project to teach first. But in the end, I figured we really should start with these adorable little crochet mushrooms on the grass. Even though the final piece is a whole scene with birds and flowers, it’s these tiny crochet details that really bring the whole thing to life. So today, let’s skip the complicated wire frames and wiring for a second. Let’s just sit down and learn how to crochet a mushroom that’ll never wither.
Amigurumi Pattern – Crochet Materials & Supplies for Beginners
First, let’s talk materials—this is where beginners usually “pay their dues” with mistakes. For my mushroom amigurumi, I’m using standard 4-ply milk cotton yarn. It has a nice, sturdy texture that holds its shape, unlike thinner yarns that can end up looking a bit flimsy. As for the crochet hook size, I swear by a 2.5mm hook. Since we’re stuffing these with fiberfill, you want a smaller hook to keep your crochet stitches tight so the stuffing doesn’t peek through the gaps.
If you’re used to UK terms, just a heads-up: I’m using US crochet terminology here. So, “X” is a single crochet (sc), “V” is an increase (inc), and “A” is a decrease (dec).
Free Crochet Pattern: The Cap of Mushroom
Alright, enough chat—grab your orange yarn and let’s dive into this easy mushroom crochet pattern. We’re starting with a classic Magic Ring (MR).
-
Round 1: 6 sc into the ring.
-
Round 2: 6 inc (12 stitches total).
-
Round 3: (sc, inc) x 6 (18 stitches).
-
Round 4: (2 sc, inc) x 6 (24 stitches).
-
Round 5: (3 sc, inc) x 6 (30 stitches).
At this point, you should have a flat little circle. Now, for Rounds 6 through 8, just sc in each stitch around (30 sc). You’ll start to see it curving into a little bowl shape. Now comes the big transition at Round 9: switch to your white yarn and start closing it up.
-
Round 9: (3 sc, dec) x 6 (24 stitches).
-
Round 10: (2 sc, dec) x 6 (18 stitches).
-
Round 11: (sc, dec) x 6 (12 stitches).
I intentionally decreased it down to exactly 12 stitches so it’ll line up perfectly with the crochet mushroom stem later.
Free Crochet Pattern: Crochet Mushroom Stem
Next up is the white stem. Again, start with 6 sc in a Magic Ring.
-
Round 2: 6 inc (12 stitches).
-
Round 3: (sc, inc) x 6 (18 stitches).
-
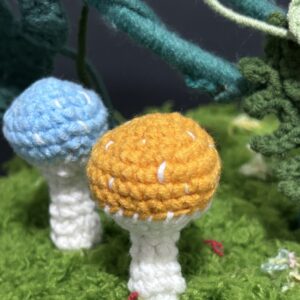
Rounds 4–7: Just work 18 sc around. If you want your handmade mushrooms to have different heights for a more natural “forest floor” look on your clock, feel free to add a couple more rounds here.
-
Round 8: (sc, dec) x 6 (12 stitches).
Easy mushroom crochet pattern
Now you’ve got your two pieces! Don’t grab your needle just yet—stuffing amigurumi is an art form. Stuff the cap about 70–80% full. You want it rounded on top but flat-ish on the bottom. The stem, however, needs to be stuffed firmly. If it’s too soft, it’ll buckle under the weight of the mushroom head. Since both pieces end with 12 stitches, you can just whip-stitch them together, one stitch to one stitch.
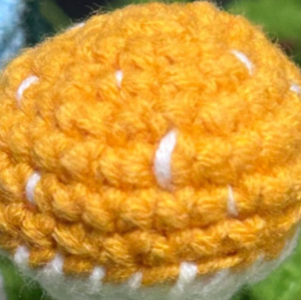
The final touch is embroidery. Take a length of white yarn and sew a few random vertical lines onto the orange cap. Don’t worry about making them perfect—those slightly messy speckles are what give it that organic, woodland vibe.

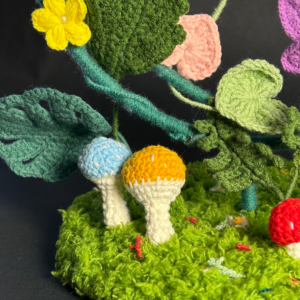
And there you go! Your first crochet mushroom ornament is done, and the foundation for our crochet clock is officially laid. Get a few of these under your belt, and in the next post, I’ll show you how to tackle the crochet vines and leaves. If you get stuck or your stitch count feels off, just drop a comment and I’ll help you troubleshoot!